Taking a road trip from Wellington to Rotorua? As you make your way from the capital city to the Bay of Plenty region, you’ll come across small-town museums, scenic walks, and epic adventure attractions.
We’ve tallied up 14 of the best spots to visit on your journey. Learn what to see between Wellington and Rotorua below!
Distance from Wellington to Rotorua
- Wellington to Rotorua distance: 450 km
- Wellington to Rotorua drive time: 6 hours
To reach Rotorua from Wellington, take State Highway 1 to Taupō, then SH 5 to Rotorua. For a quick rest along the route, stop at Taihape, the halfway point on the drive from Wellington to Rotorua.
Should you travel from Wellington to Rotorua by bus, plane, or car?
The best way to travel between Wellington and Rotorua depends on how much time you have. If you’ve got a couple of days to spare, driving your own vehicle or a rental car lets you experience all the unique attractions along State Highway 1 — and you could even take a less direct route along the west or east coast to explore the lower North Island in-depth.
If you want to get to Rotorua city as soon as possible, flying is the best choice. Air New Zealand operates four Wellington to Rotorua flights daily, which take around 1.25 hours one-way. You can expect to pay about $200-$400 NZD for a return ticket.
If you’re after a more cost-effective transport option, take the InterCity bus. The Wellington to Rotorua bus service costs approximately $40–$60 per adult. Daily services depart from platform 10 of the Wellington Railway Station and arrive in Rotorua outside the i-SITE on Fenton St. Riding the bus from Wellington to Rotorua takes around 7 hours.
14 places to visit on your Wellington to Rotorua road trip
Te Papa (National Museum of New Zealand)
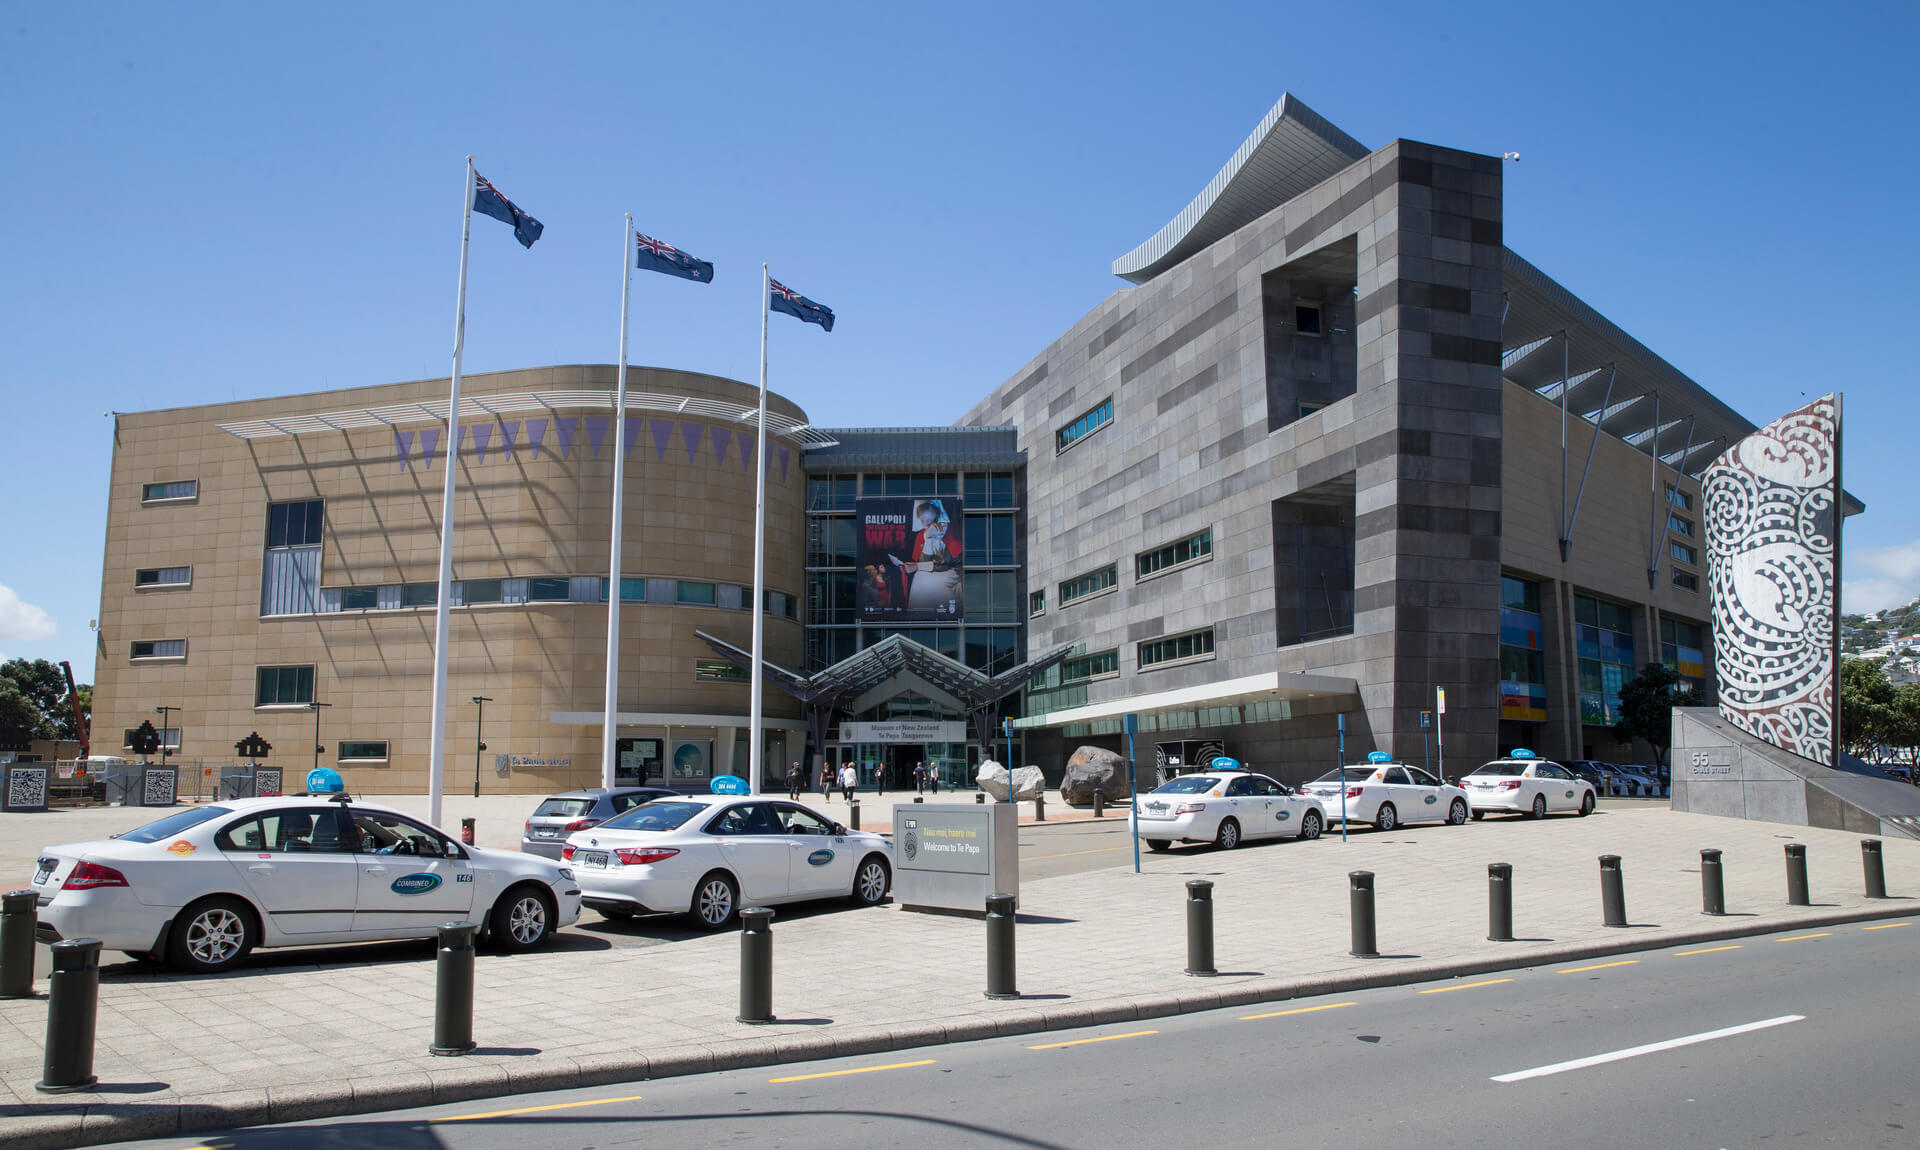
Image credit: Te Papa Museum
Located in the Wellington city centre, Te Papa National Museum features enthralling interactive displays that bring New Zealand history and culture to life.
Southward Car Museum
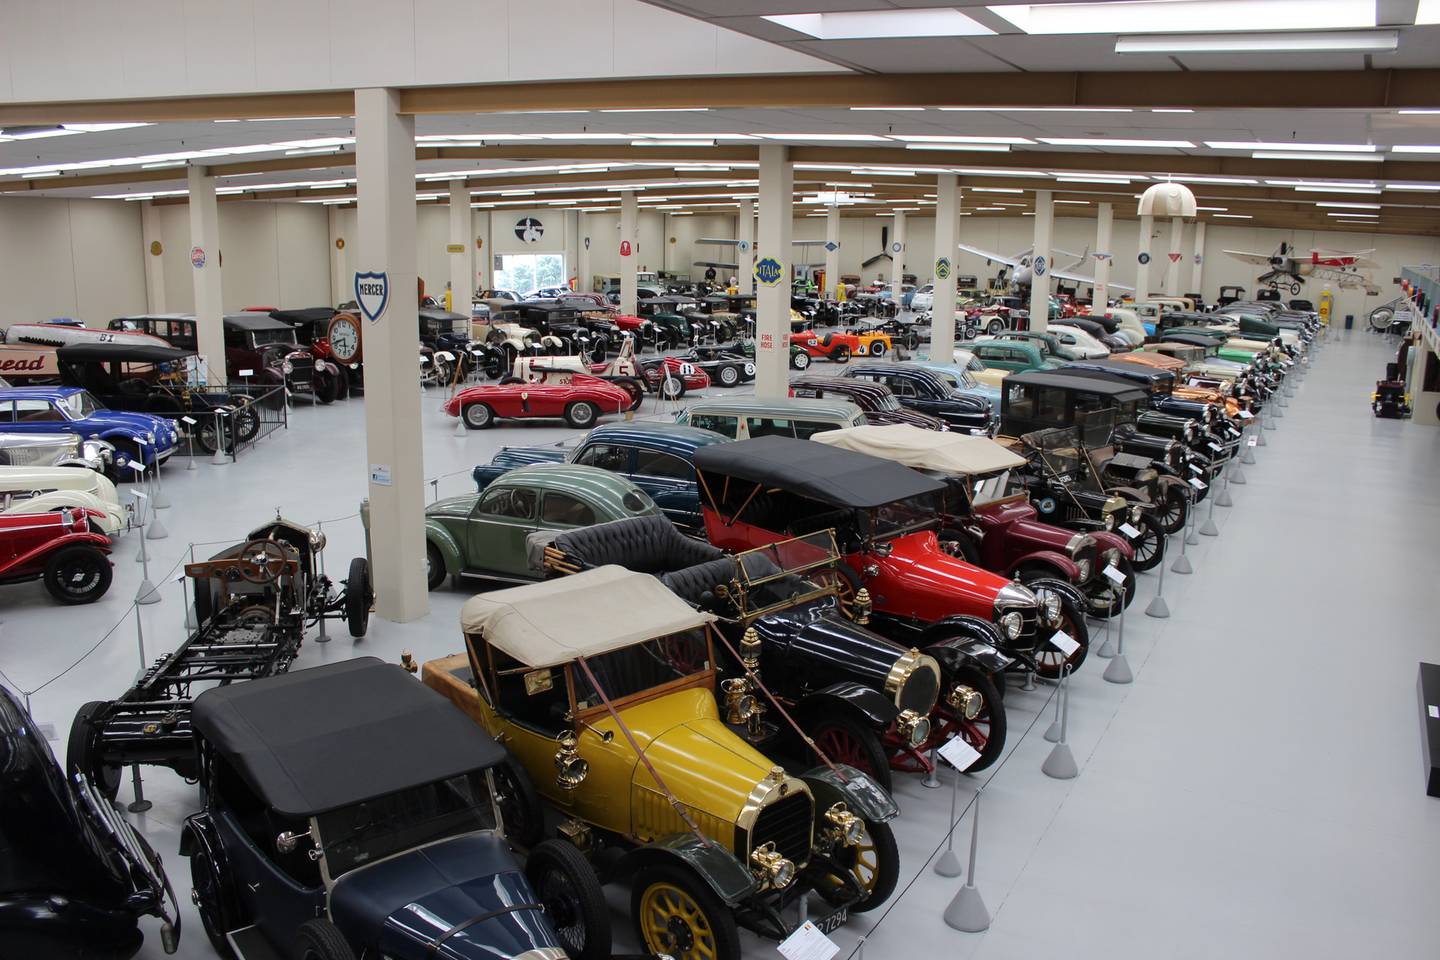
Image credit: Southward Car Museum
A 45-minute drive north from Wellington brings you to Otaihanga and the Southward Car Museum. Browse the most extensive collection of Bugattis, Bentleys, and other vintage cars in the Southern Hemisphere.
Ngā Manu Nature Reserve
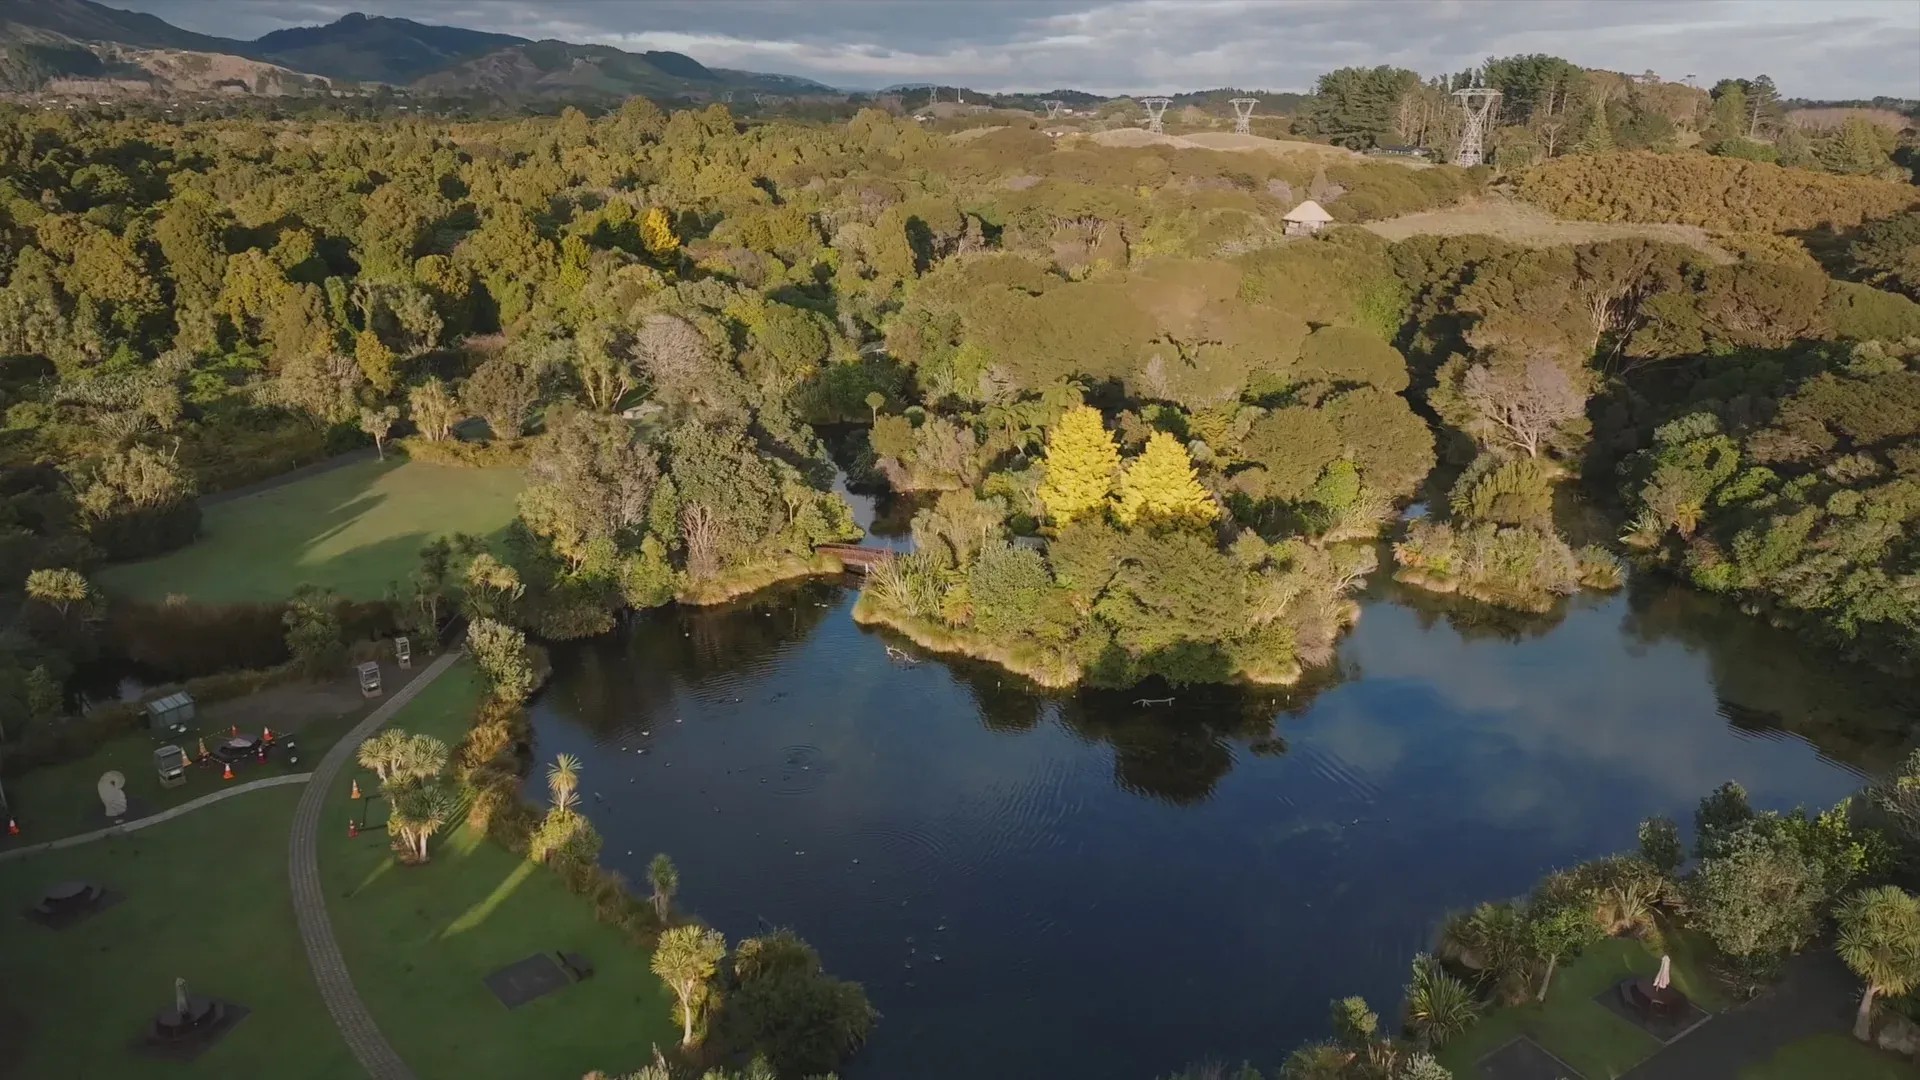
Image credit: ngamanu.org.nz
Hear the call of New Zealand’s native birds as you make your way through 14 hectares of native bush. The Ngā Manu Nature Reserve offers free guided forest walk tours, kiwi night encounters, and eel feeding.
Te Awahou Nieuwe Stroom
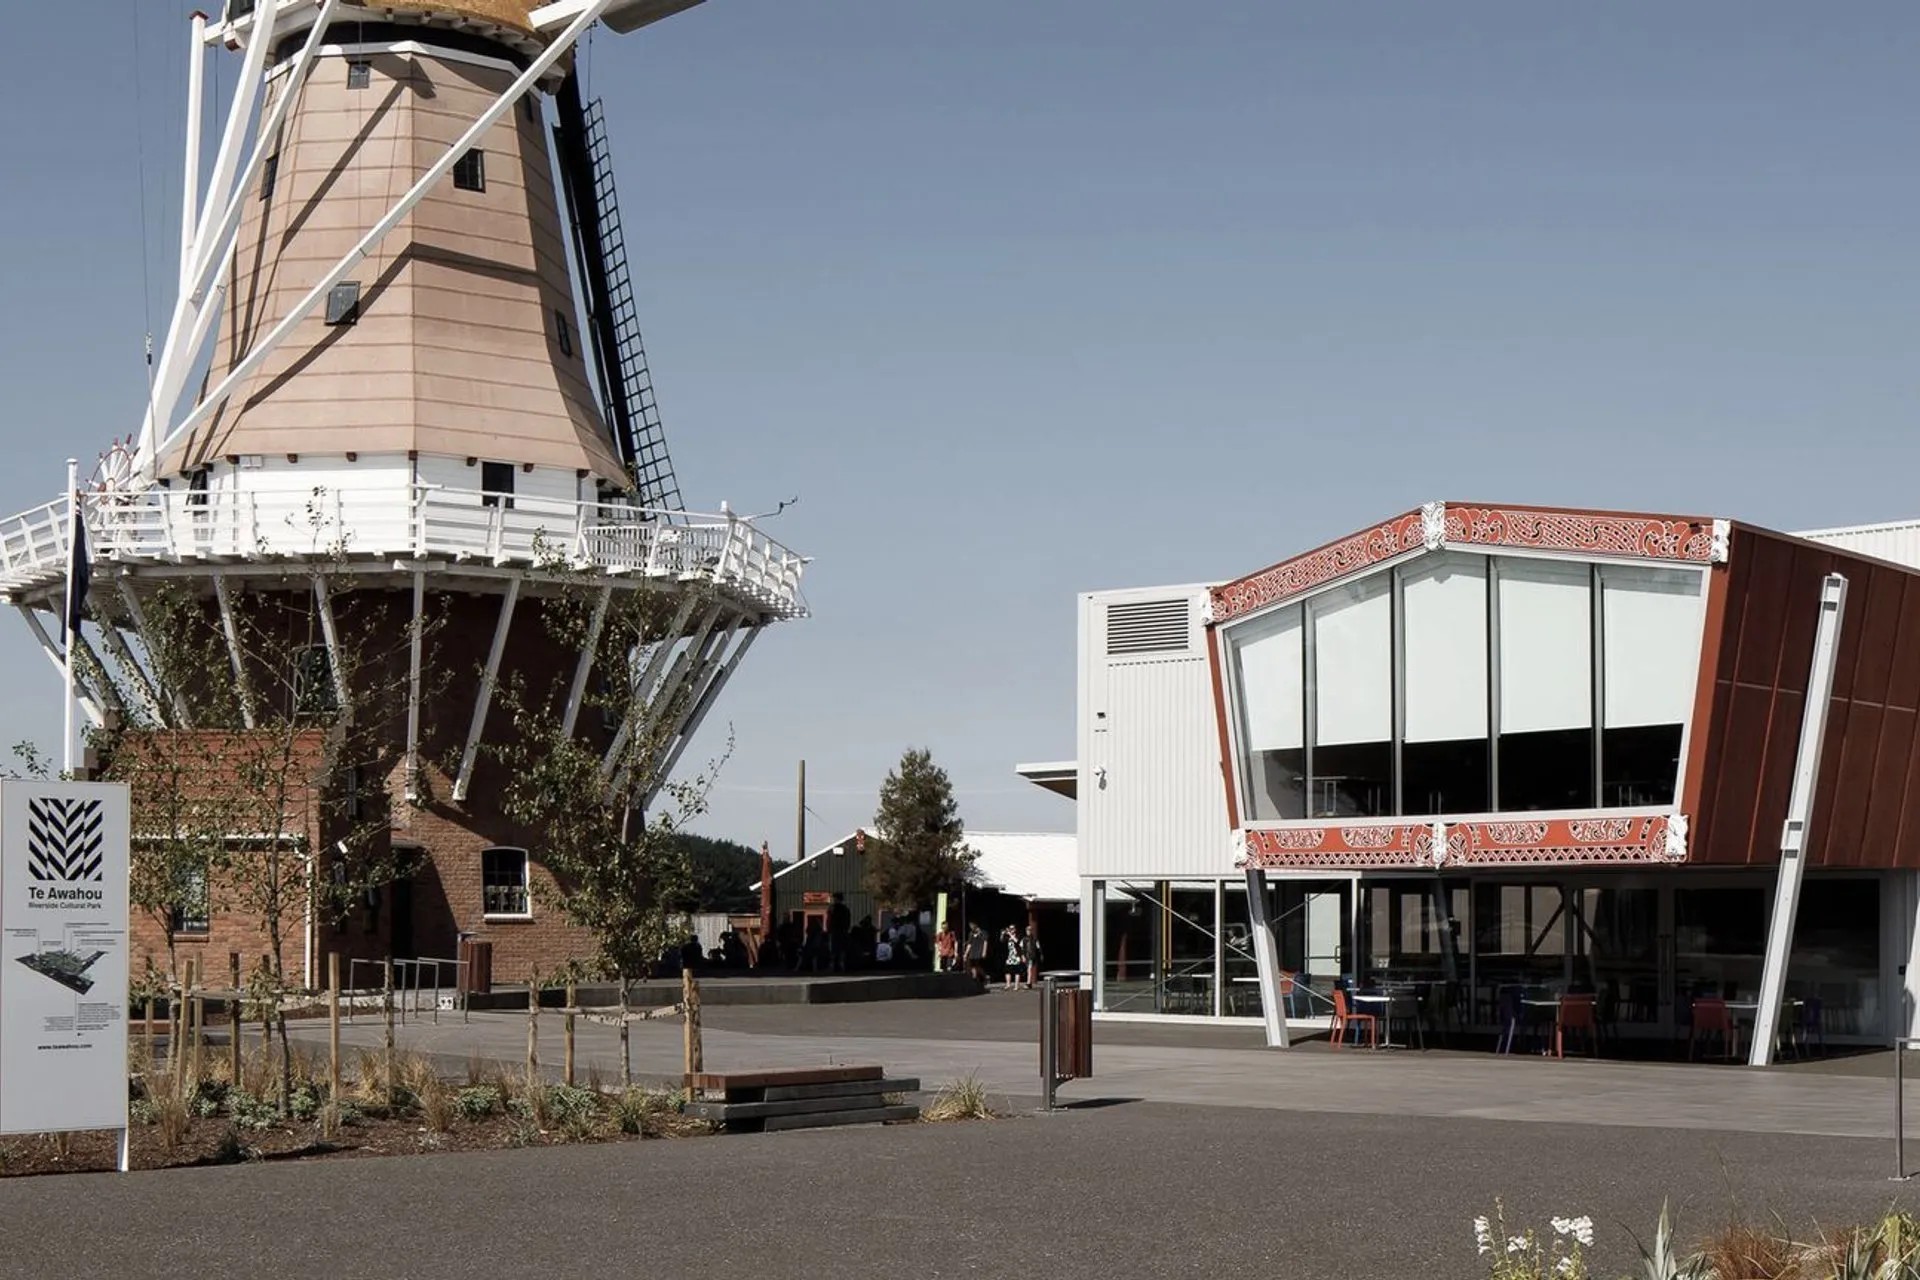
Image credit: Jason Mann Photography
Discover a unique combination of Dutch and Māori culture at Te Awahou Nieuwe Stroom, home to two educational museums and an operating windmill! Nearby, the Foxton Flax Stripper Museum houses one of the only two working flax stripper machines in the world.
Toy Circus

Image credit: Horowhenua Chronicle
Go back to your childhood (or your parents’) at the Toy Circus in Shannon. This expressive collection features a mishmash of toys from the 1970s onward.
Te Manawa Museum and Rugby Museum

Image credit: temanawa.co.nz
Experience the exciting Te Manawa Museum in Palmerston North, approximately a 20-minute detour off State Highway 1. This free community museum offers regularly changing art, history, and science exhibitions, with interactive displays for the kids. The New Zealand Rugby Museum is also located in the same building—a must for sports buffs!
The Woolshed Cafe & Heritage Walk
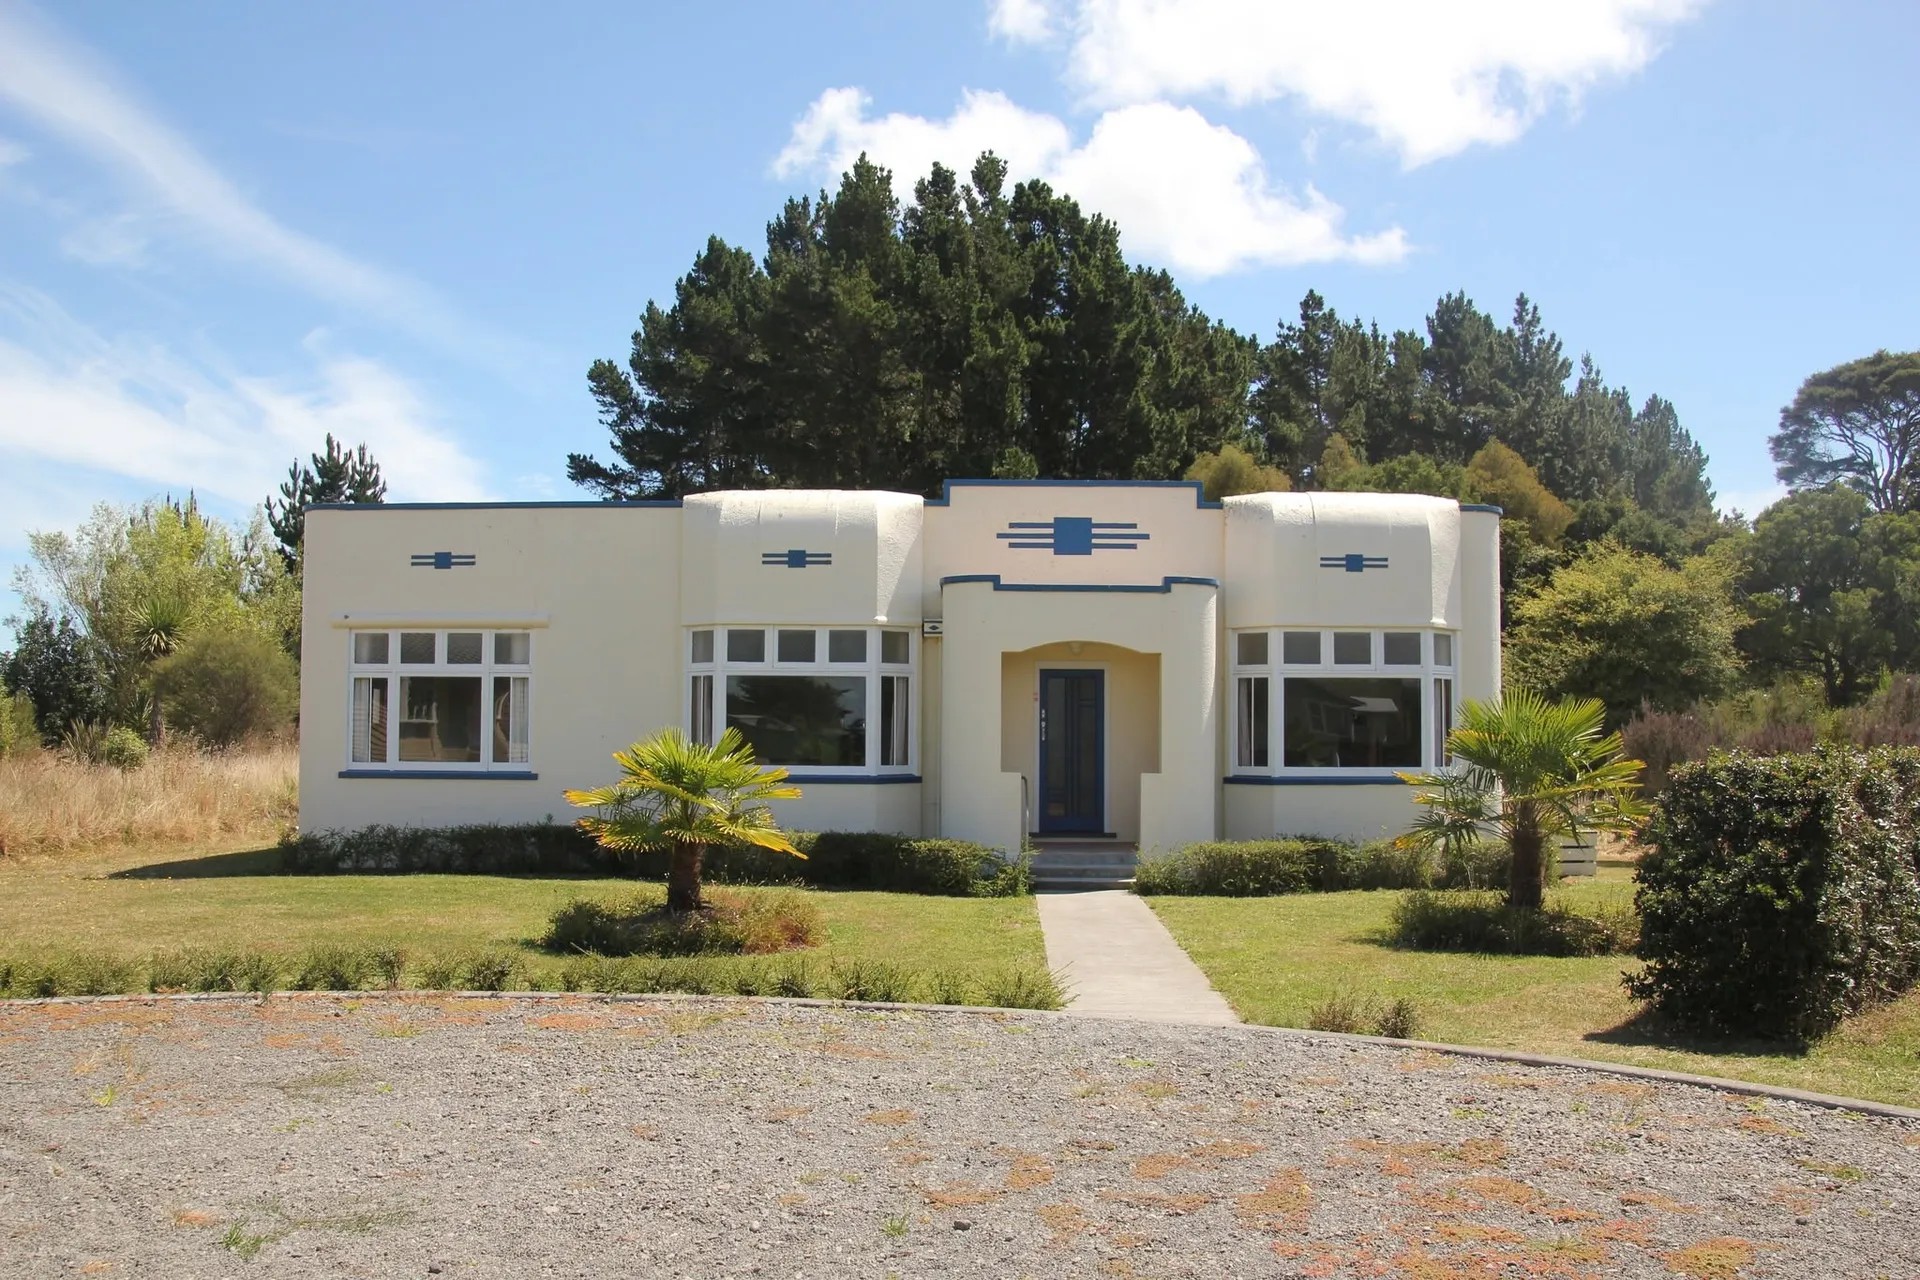
Image credit: The Woolshed Cafe & Heritage Walk
A popular stop between Wellington and Rotorua, the Woolshed Cafe offers a classic Kiwi menu perfect for a lunch break. But what makes it unique is its architectural heritage walk, where you can explore seven antique homes spanning the 1860s to 1960s.
Whitecliff Boulders
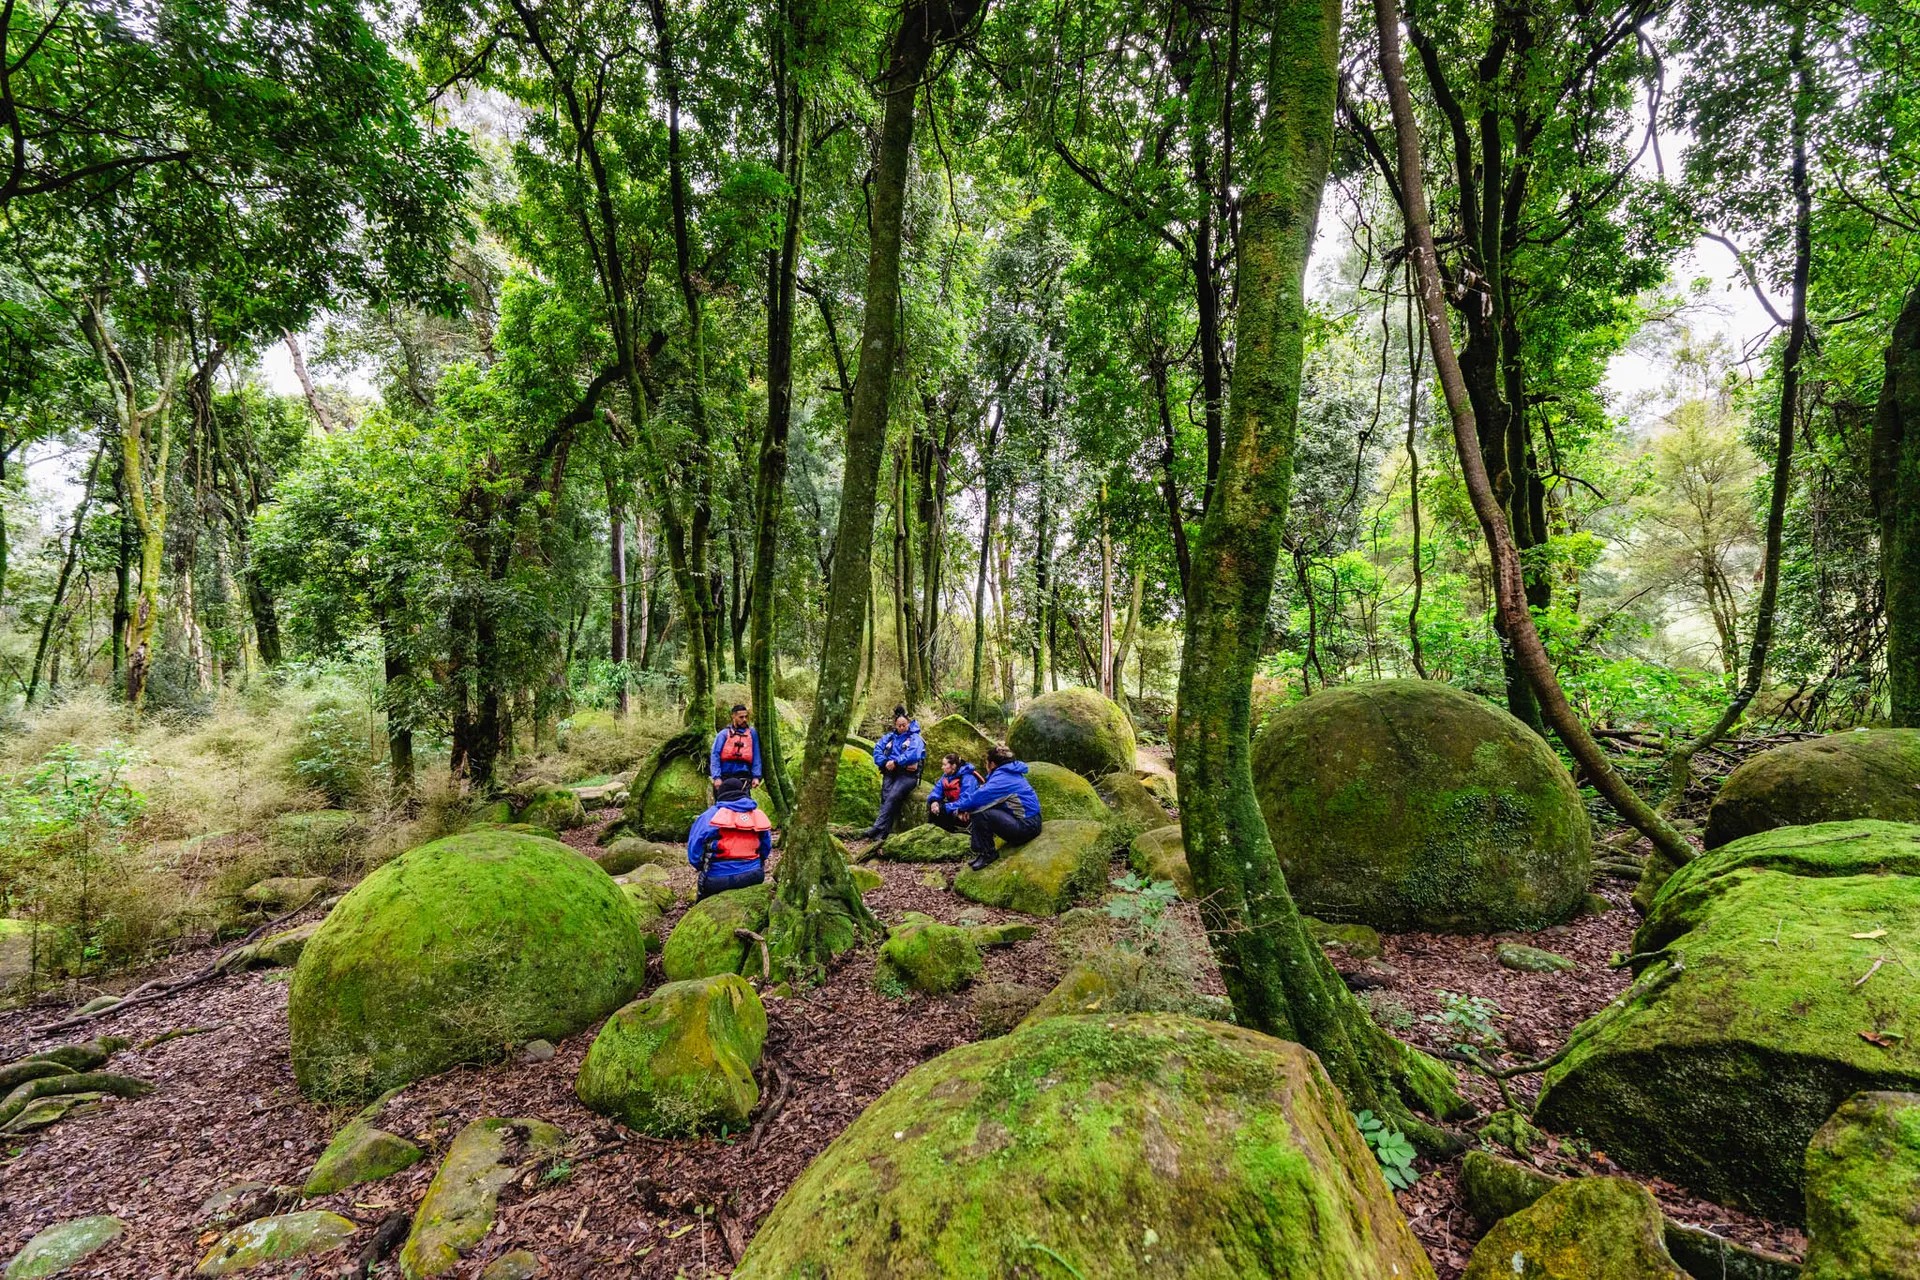
Image credit: mangaweka.co.nz
Step into a fairy tale setting as you explore the Whitecliff Boulders—an array of unusually round boulders formed from eroded mudstone. The massive, moss-covered rocks are unlike anything else in New Zealand’s North Island.
Taihape (Gumboot Capital of New Zealand)
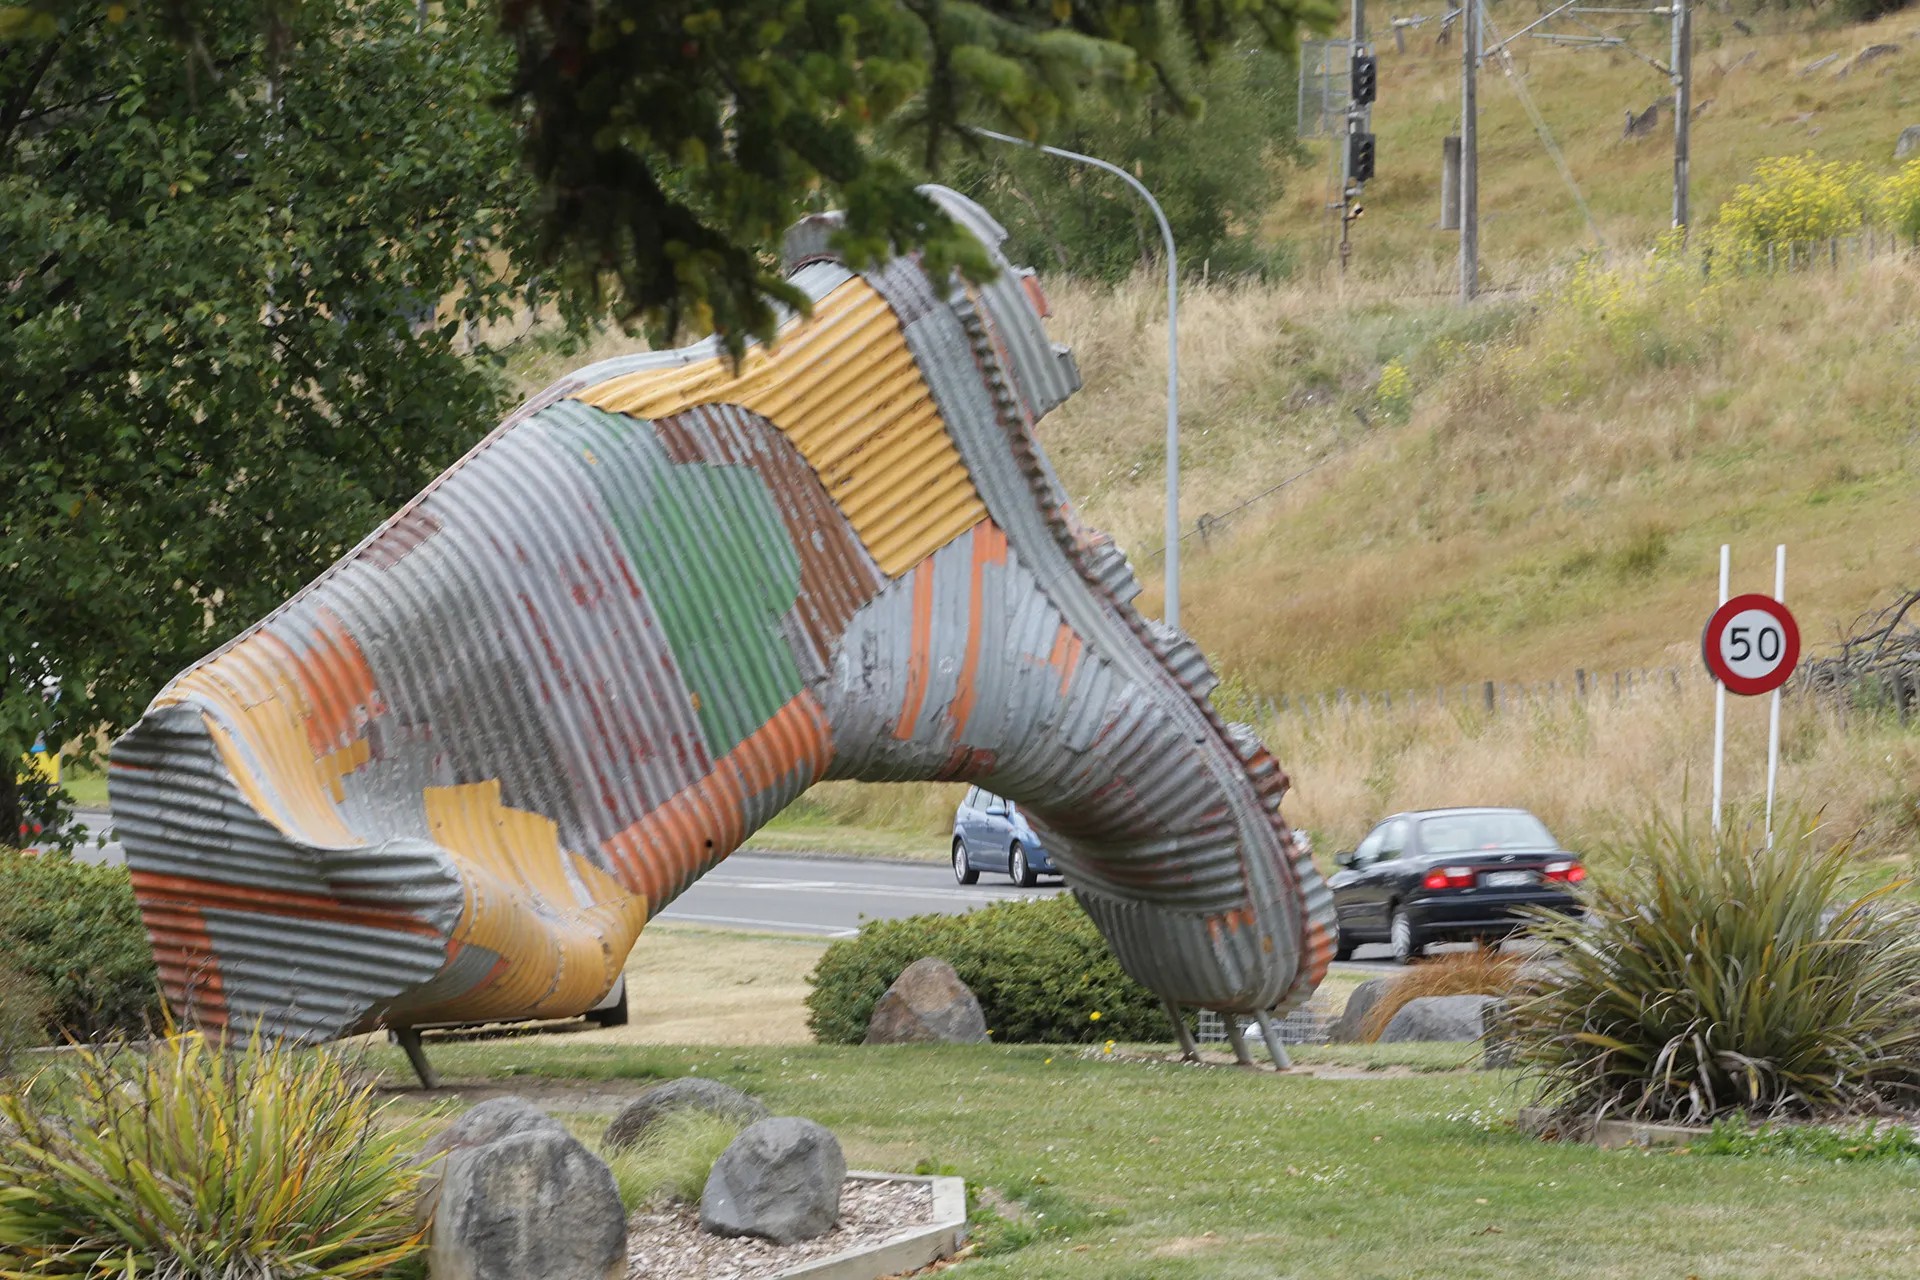
Image credit: NZ Herald
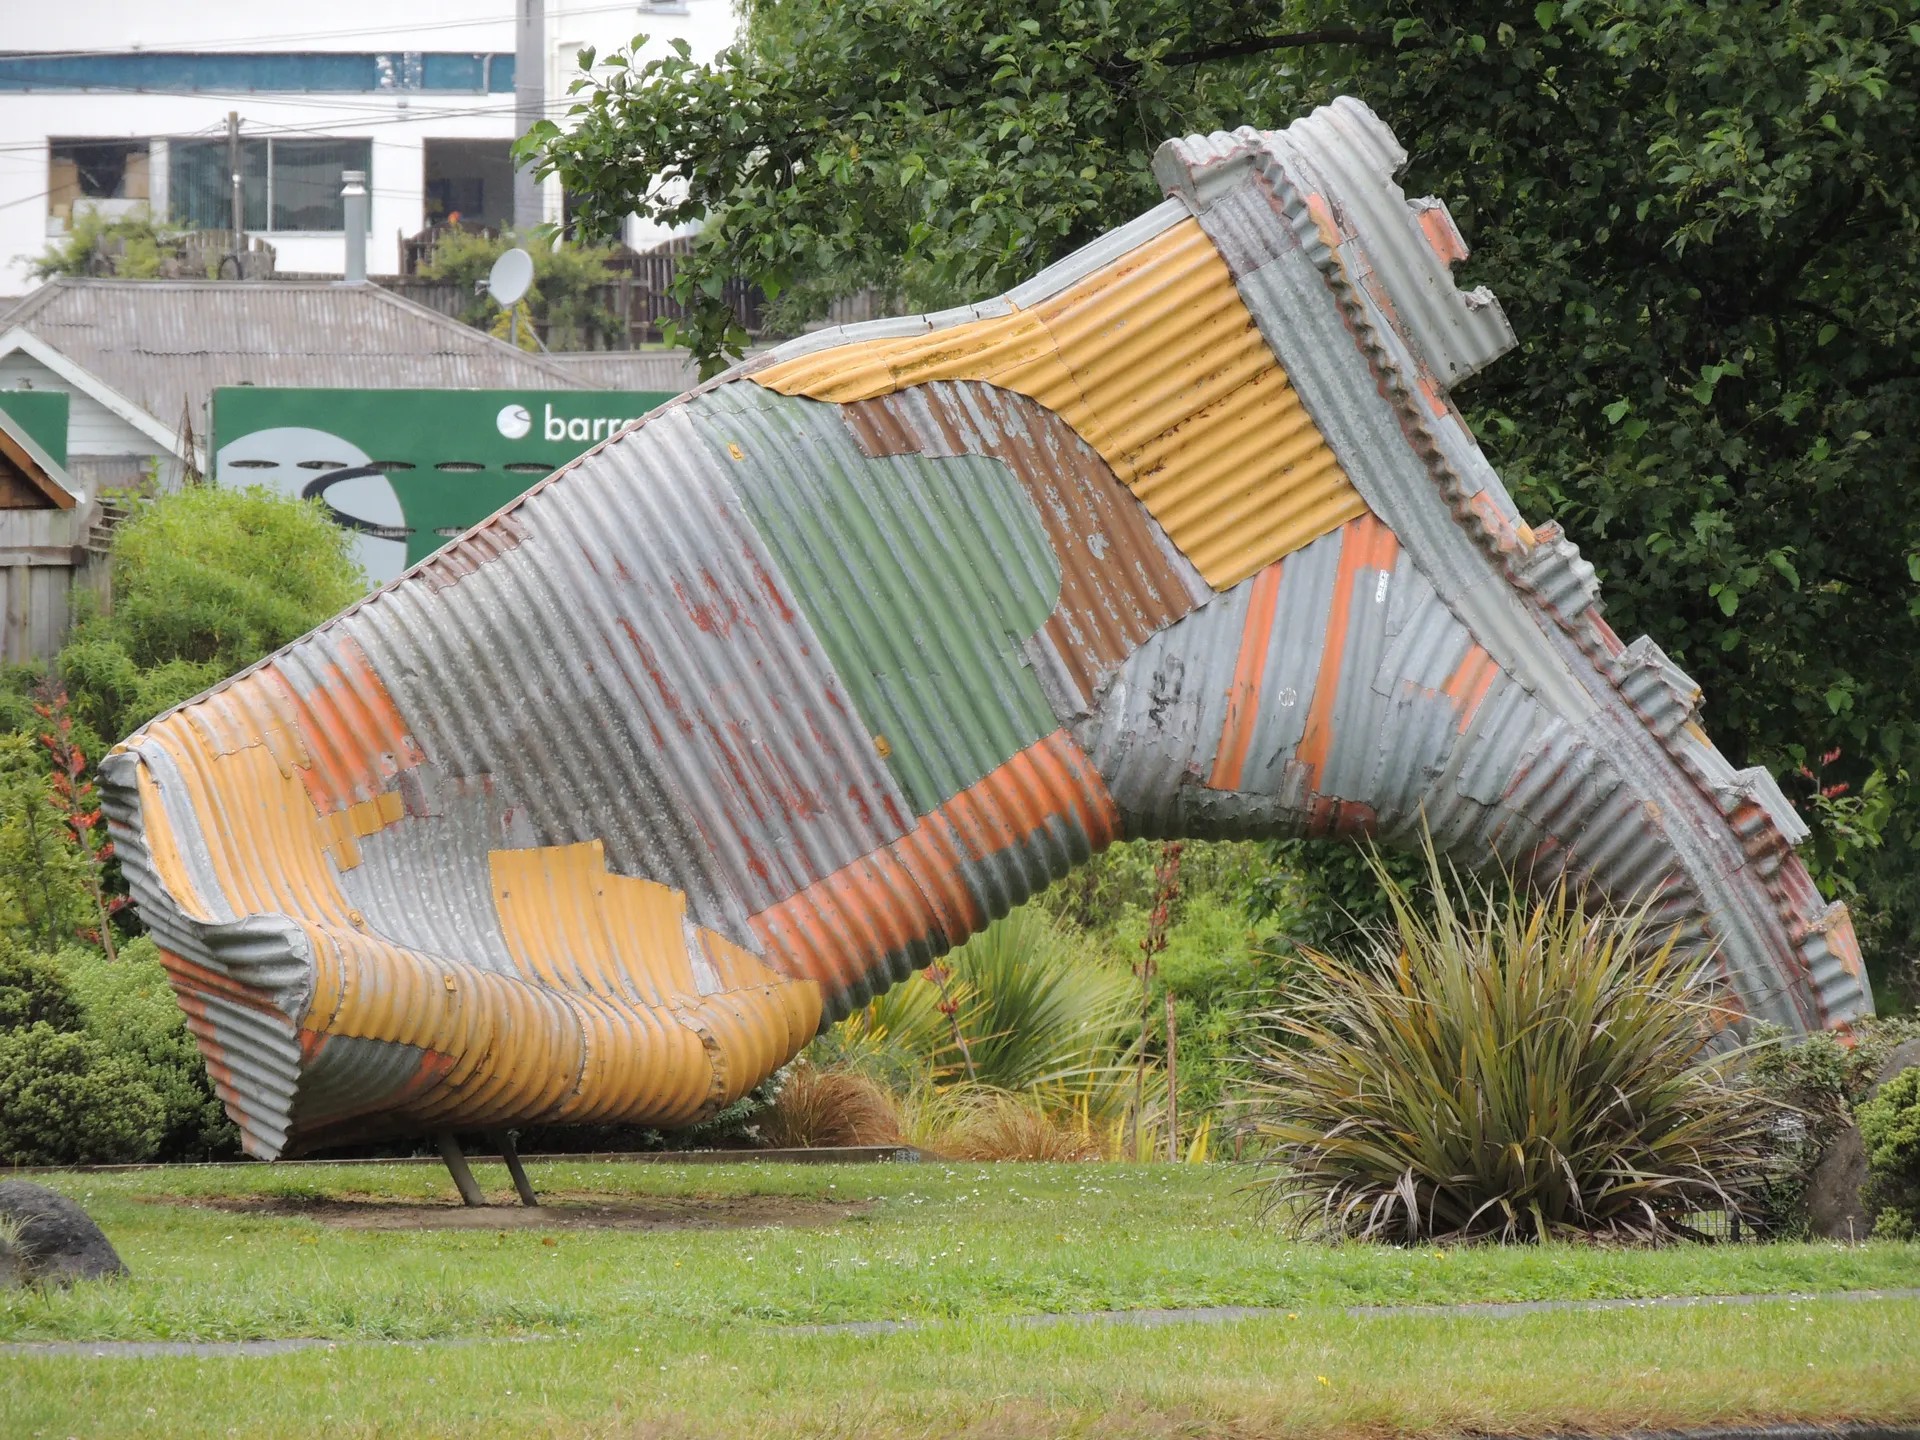
Just a little further north is Taihape, the gumboot capital of New Zealand. Get some epic Instagram shots in front of the iconic giant gumboot sculpture made from corrugated iron and wire.
Tongariro Alpine Crossing
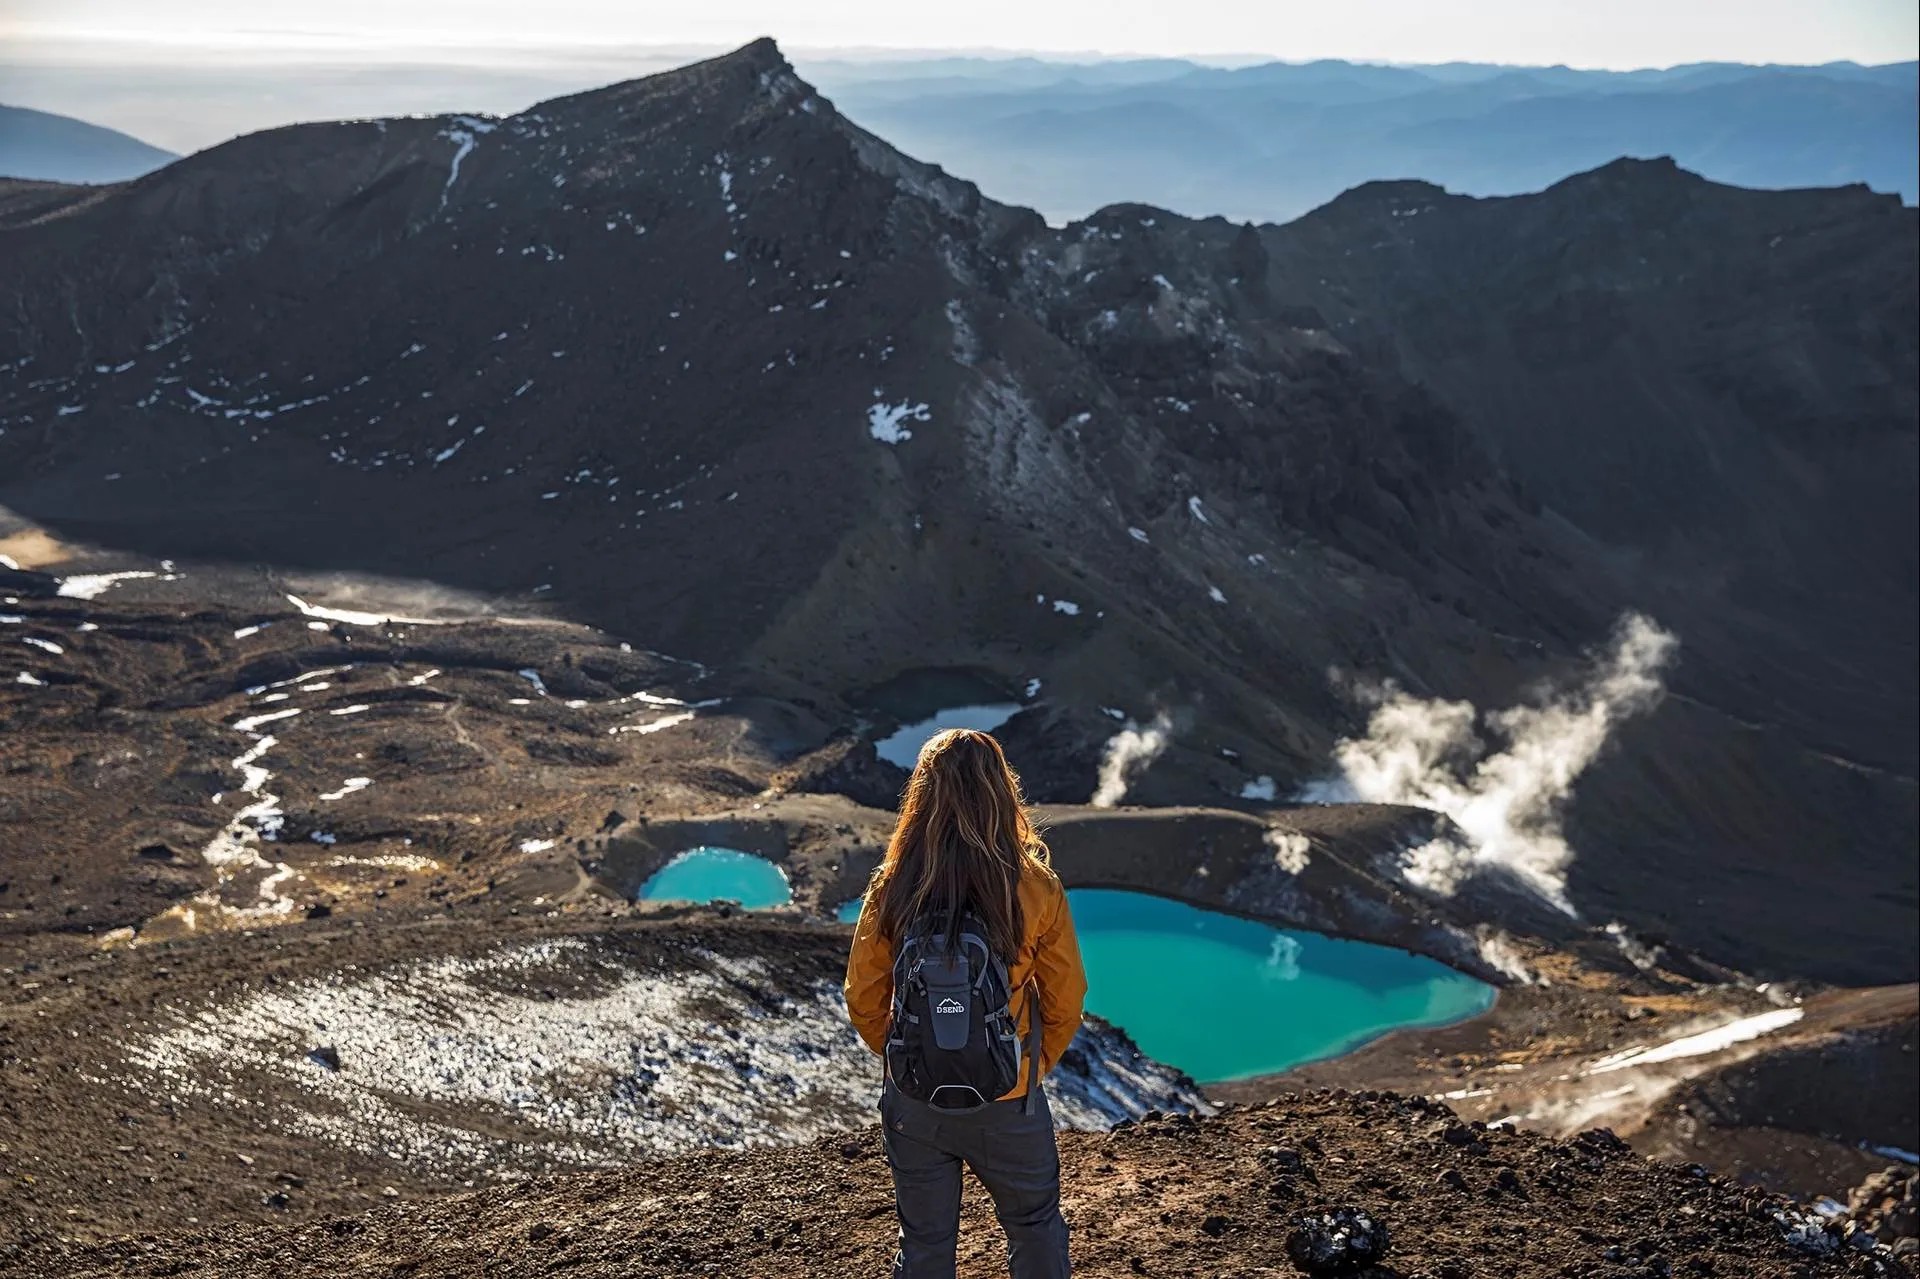
Image credit: loveTaupō.com
Not far from Lake Taupō is the Tongariro National Park, home to the Tongariro Alpine Crossing — considered one of the top ten one-day treks worldwide. You’ll pass lava flows, steam vents, an active crater, and emerald-coloured lakes along this challenging geothermal walk.
Huka Falls
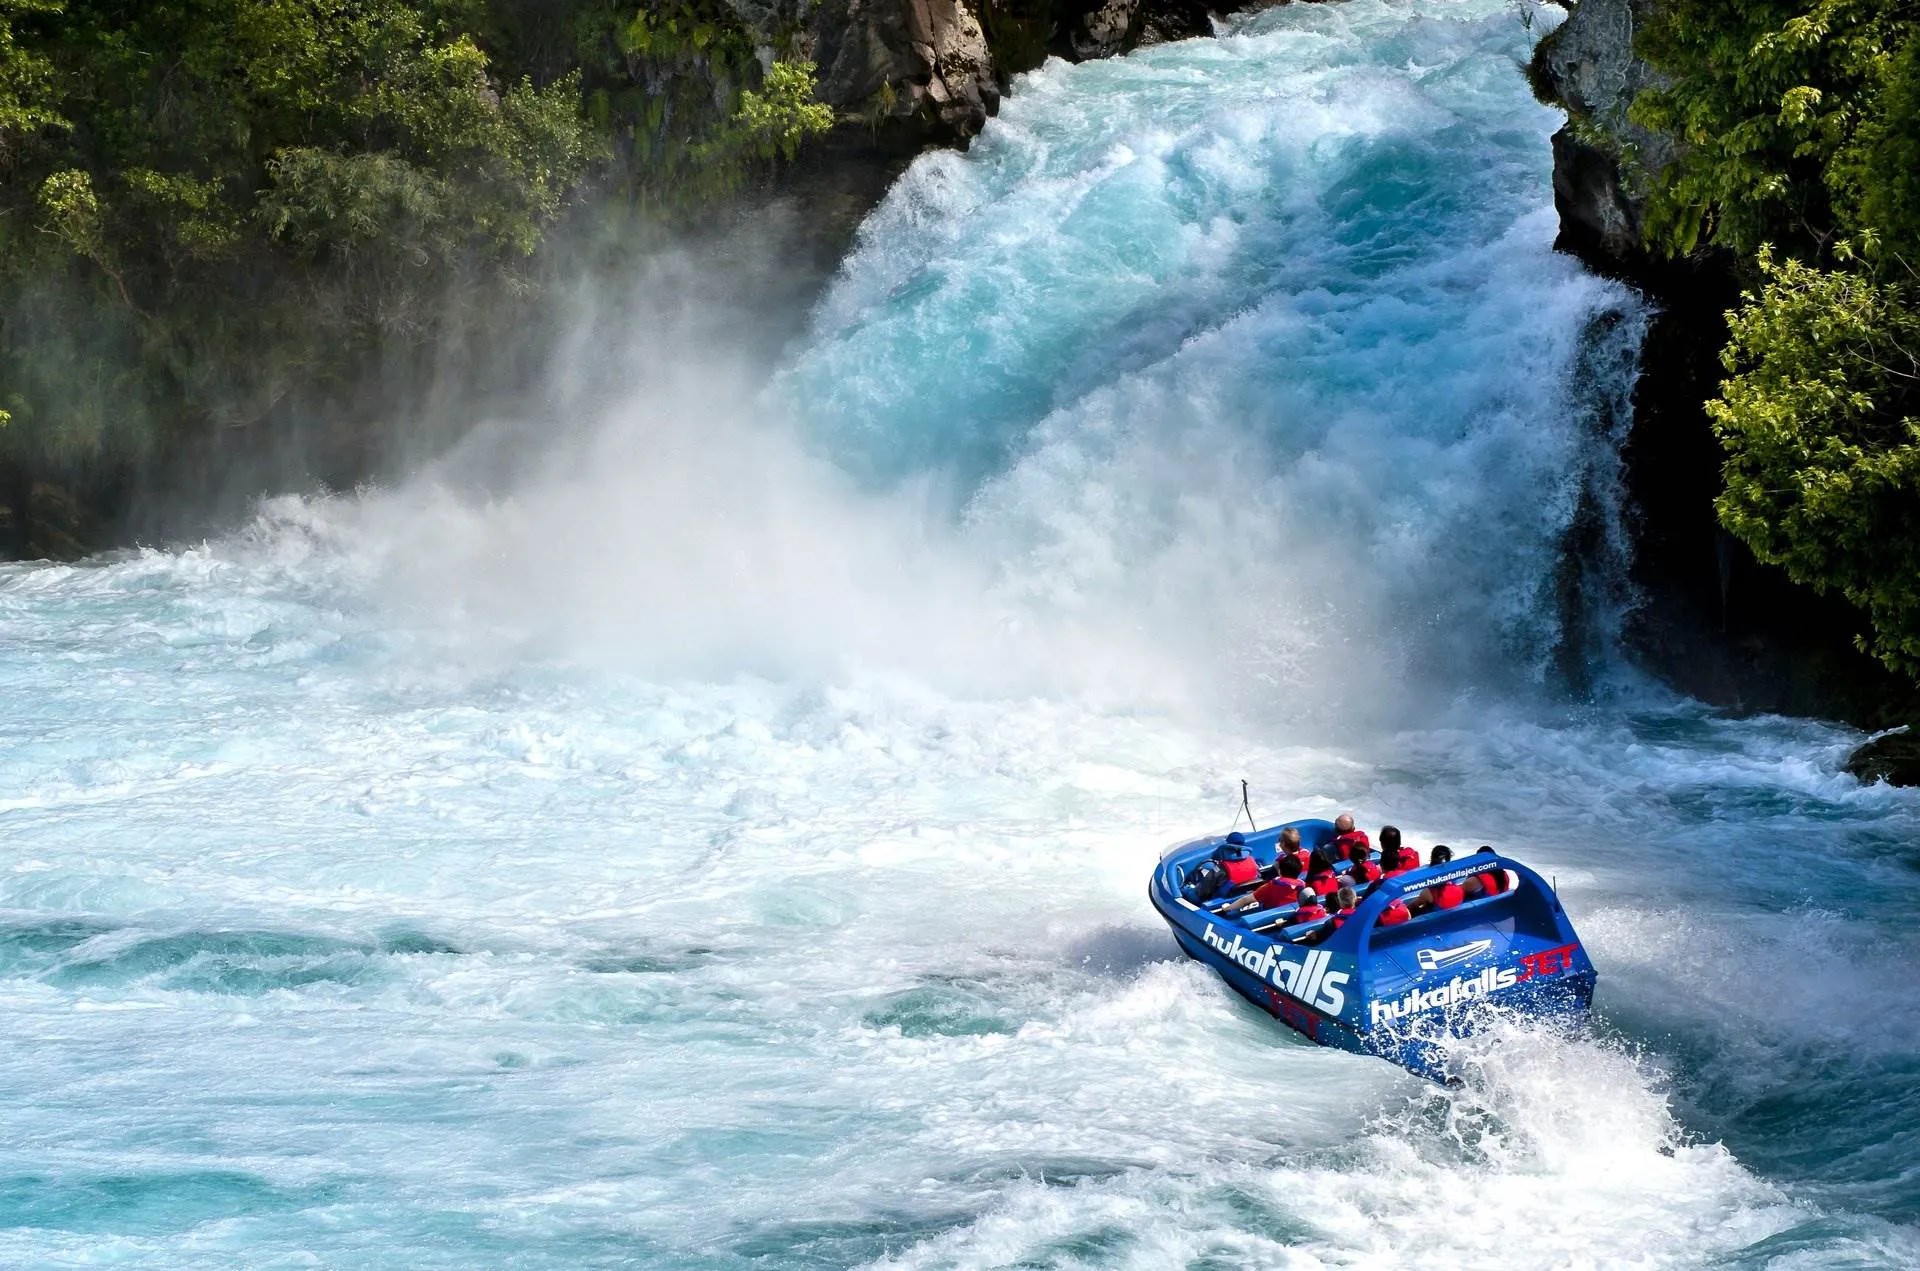
Image credit: @hukafallsjet
To the north of Lake Taupō is the 100m-wide Waikato River. The gushing water is forced through a 20m-wide gorge, giving life to the magnificent Huka Falls. Don’t miss taking the jet boat ride on your drive from Taupō to Rotorua!
Wai-O-Tapu Thermal Wonderland
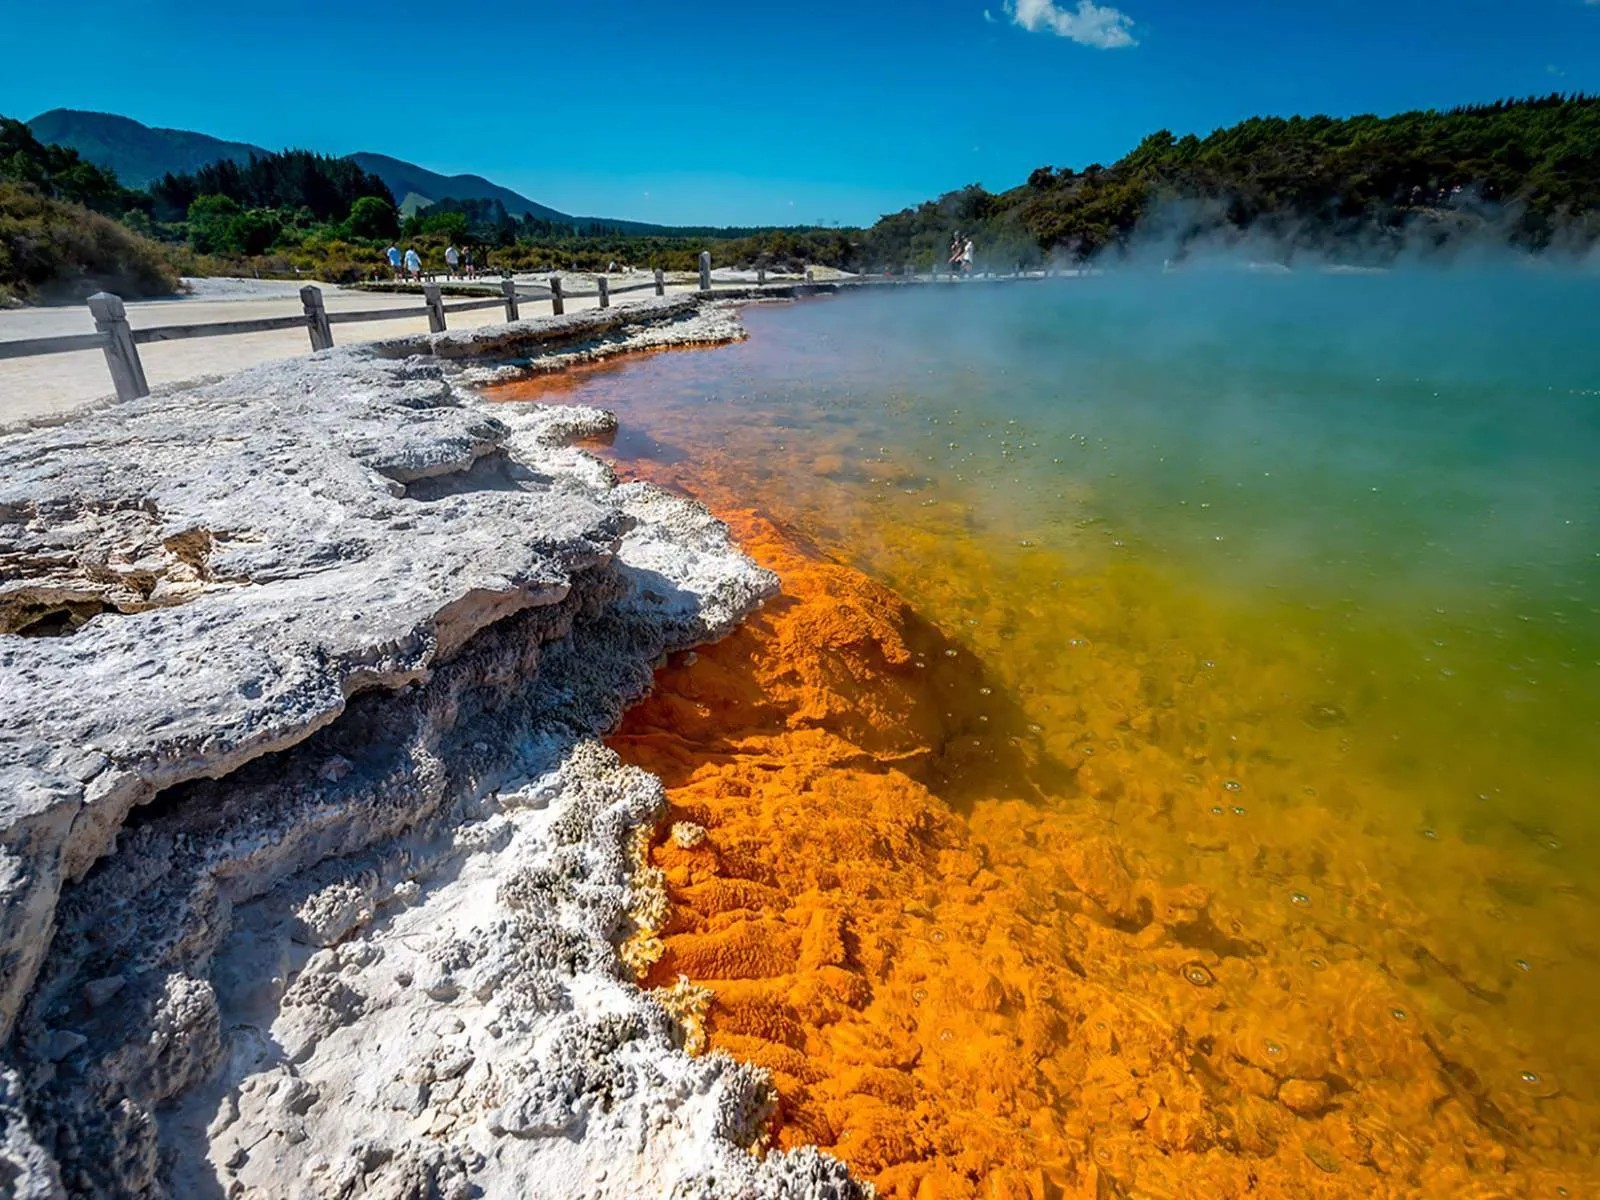
Image credit: waiotapu.co.nz
One of the best geothermal wonders near Rotorua, Wai-O-Tapu is the result of thousands of years of volcanic activity. Check out the colourful boiling mud pools and get there early to watch the daily eruption of Lady Knox Geyser.
Lake Rotorua
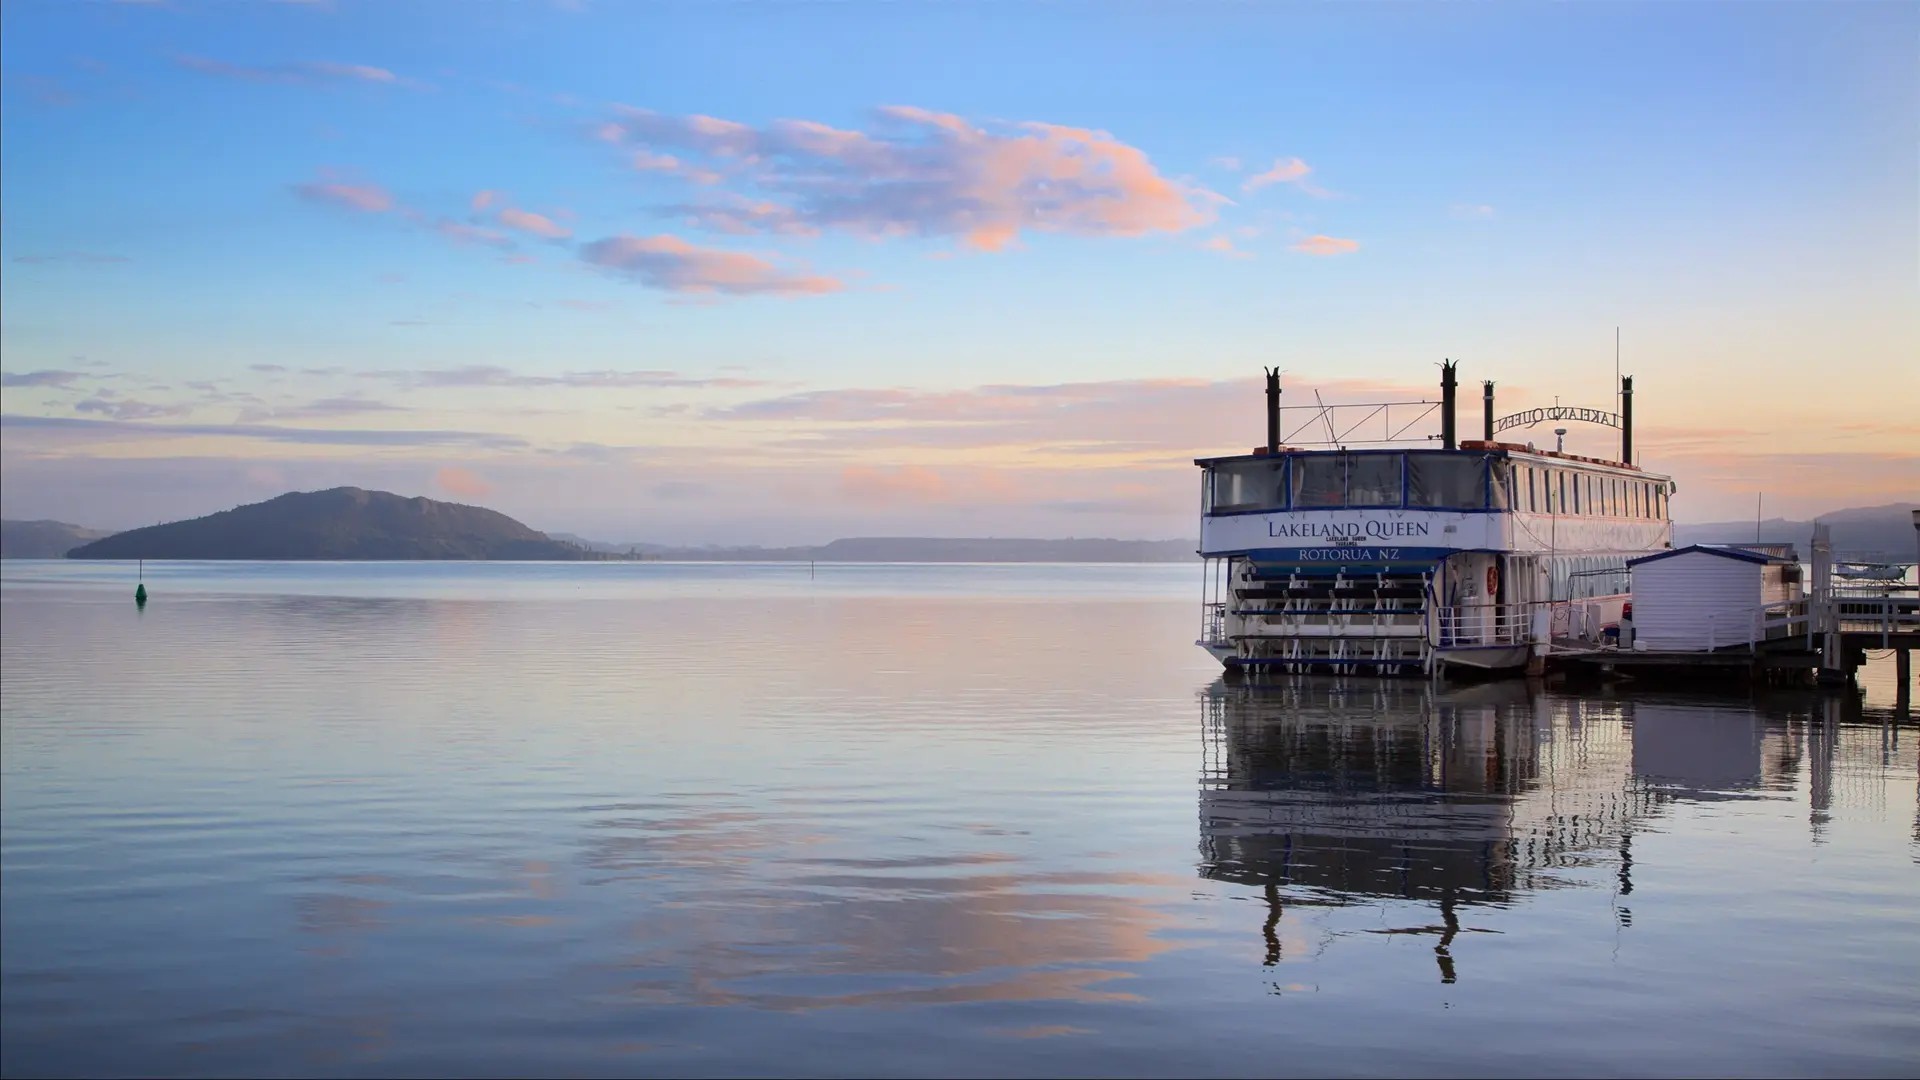
Image credit: expedia.com
Rotorua’s namesake lake is the second-largest in New Zealand’s North Island. Watch for signs of geothermal activity as you walk around the shore or enjoy the view from an evening ferry. Lake Rotorua’s high sulphur content gives the water an enchanting green-blue colouration.
Skyline Rotorua
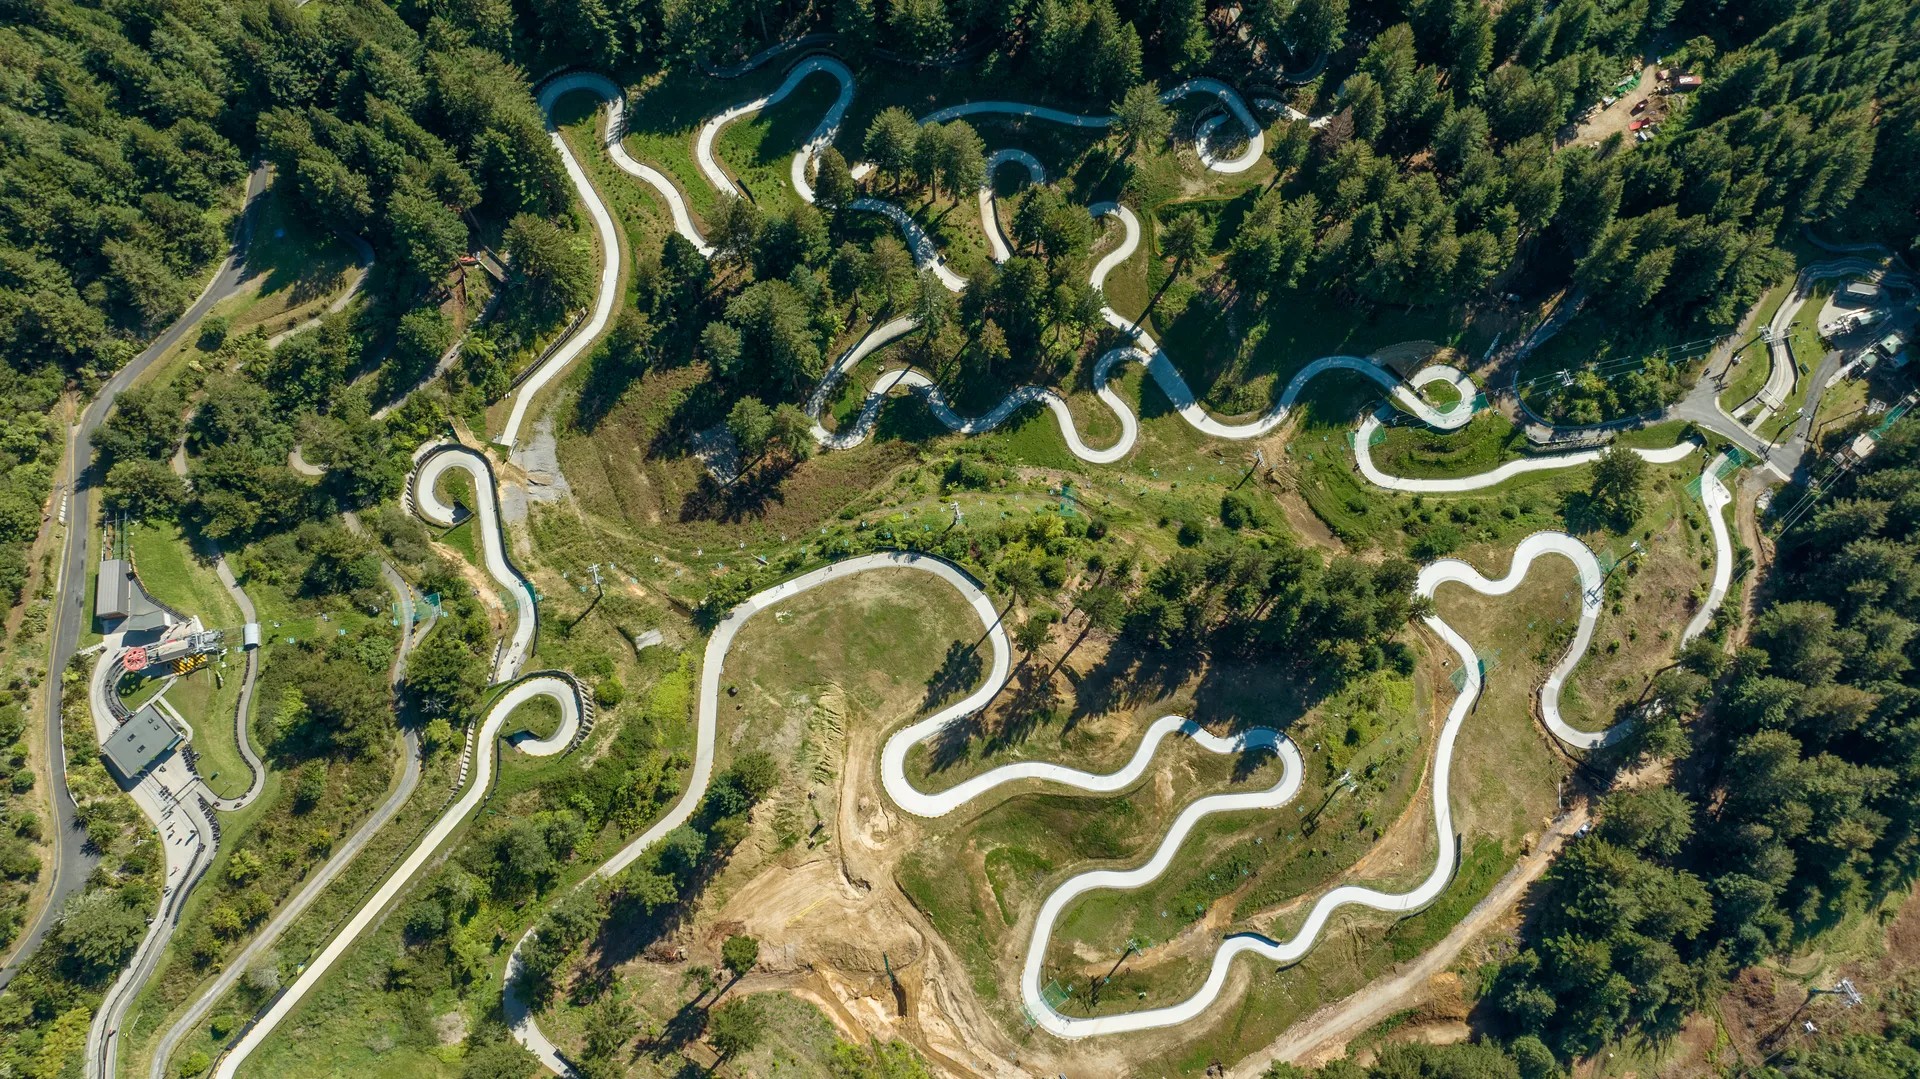
Image credit: Skyline Rotorua
Celebrate your arrival with a scenic ride up the Skyline Gondola, just a few minutes from central Rotorua. Then, try your hand at the Luge or visit the Stratosfare Restaurant and Bar for a glass of champagne and to watch the spectacular Rotorua sunset.
Discover more things to see and do in Rotorua
The journey from Wellington to Rotorua is a long one, but there’s still more fun to come!
Check out our guides for your Rotorua itinerary, including the best Rotorua walks and Rotorua hot pools. For accommodation options, see our guide to the best places to stay in Rotorua.
Discover more New Zealand travel guides on the Skyline blog.
Featured image credit: Jennifer Whiting